Using Nanite with Virtual LEGO Elements in Unreal Engine 5 - Part 2
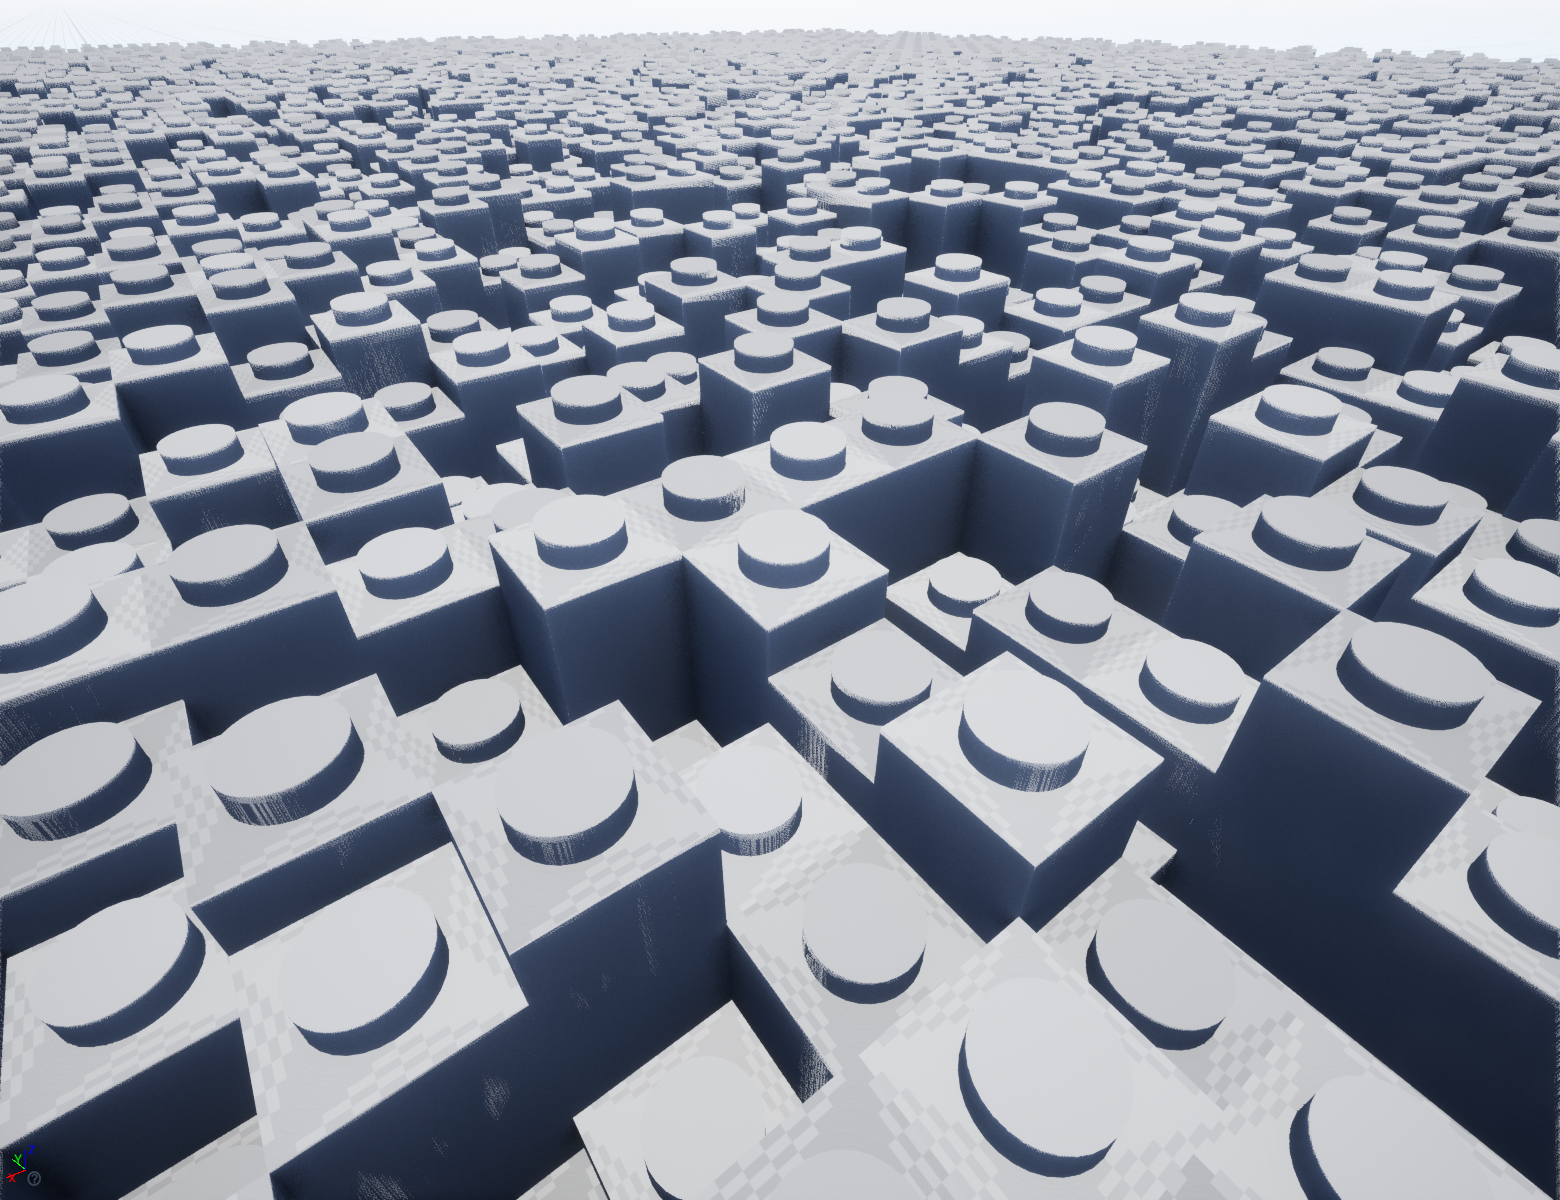
Since my last blog post on the matter, I have developed an approach to overcome some of my issues with UE5's new Nanite features. To optimize my terrain for Nanite, I have started using a ProceduralMeshComponent to generate a fully connected mesh. This allows me to create a mesh by enumerating the geometry via code. I used a multi-part tutorial I found online (here and here) to guide my approach. In this way, I was able to write code to generate the top face and stud associated with each brick, then stitch together the sides to ensure the mesh is fully connected. However, a procedural mesh is insufficient for Nanite, as it only supports static meshes. Unreal Engine has a button to convert a procedural mesh into a static mesh, but I needed to automate this from code. I examined and repurposed the source code of Unreal Engine, identifying the code behind the button and repurposing it for myself. I came up with this approach based on this question, which led me to this example (note that the code listed here is outdated and you must instead borrow from the latest engine code).
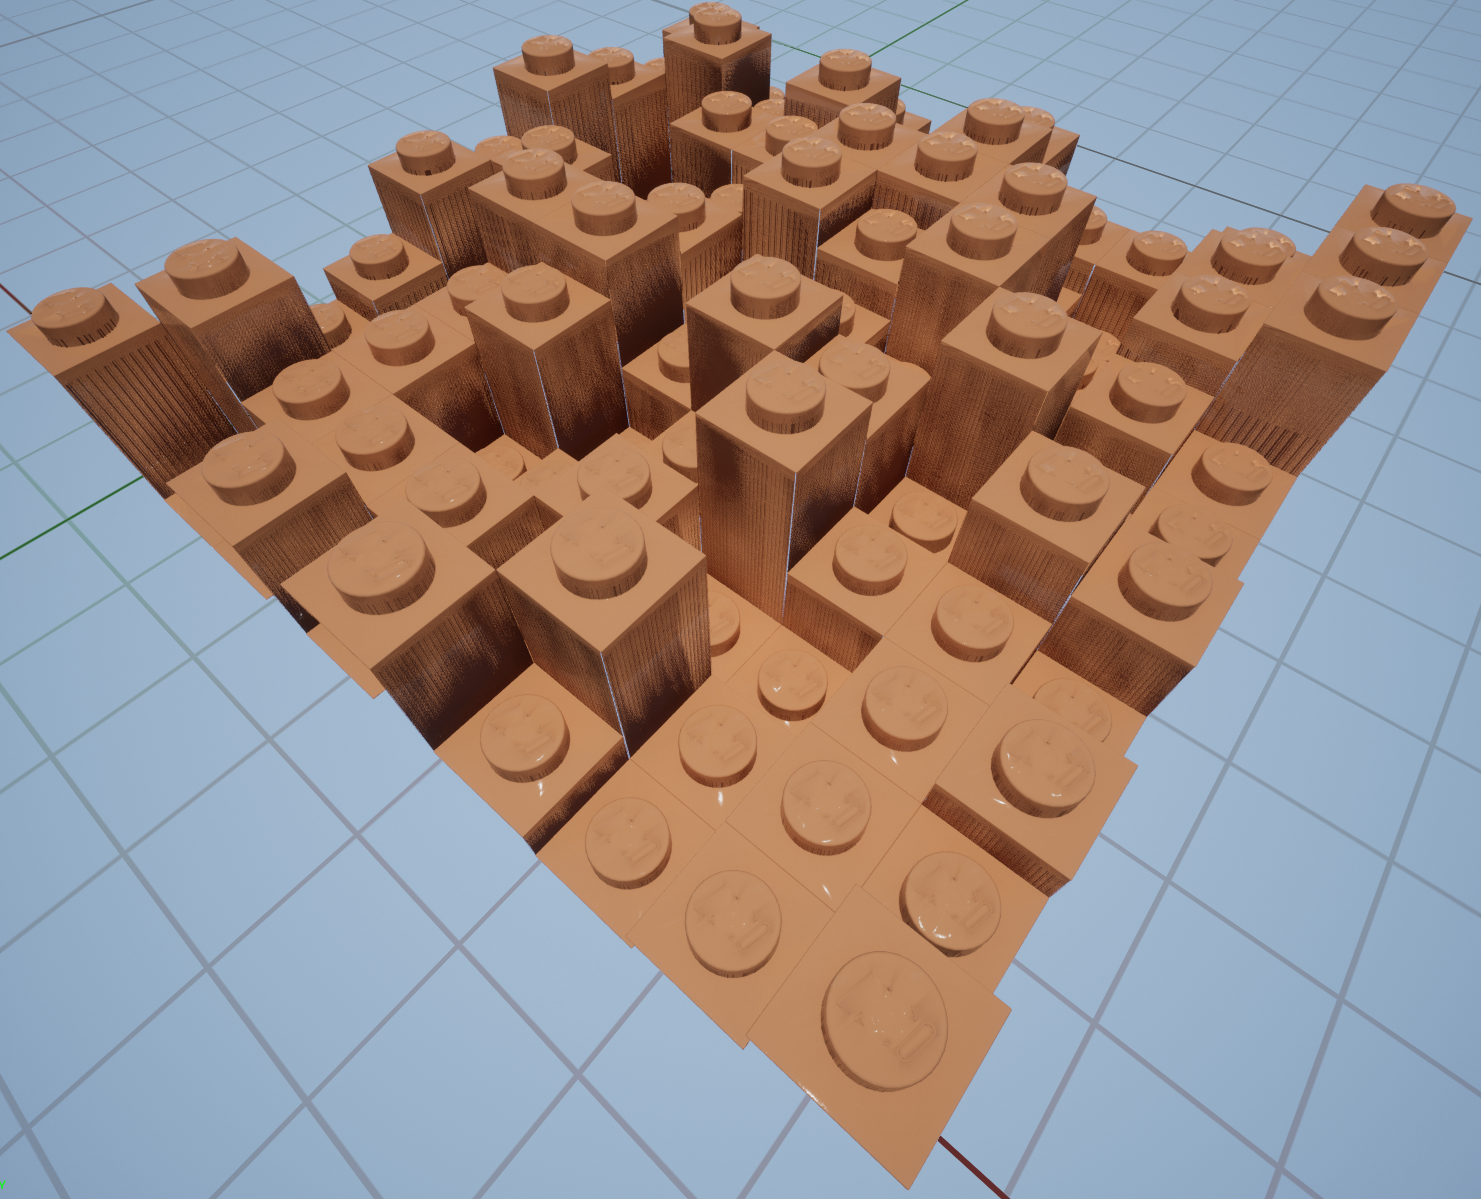
After this, I started refining my approach. To add the LEGO logo and injection marks, I created the top of each brick in Blender (this was easier than figuring out how to make the object in code) and exported to OBJ. From there, I created my own OBJ import code in Unreal. This was relatively easy, as OBJ is a simple and well-documented format. Using Blender's developer mode, I was able to identify the vertex ID of each corner for use in a procedural stitching algorithm. While it is still a work-in-progress, here is a preview of the refined approach.
At this stage, my remaining challenges are:
- Scaling the processes up to a massive island. There seem to be some engine limits in geometric density for procedural meshes limiting the number of bricks I can represent.
- Fixing normals so that odd shading artifacts no longer appear and so the LEGO logo is sufficiently distinct.
- Properly connecting the beveled edges while remaining a contiguous surface.
- Adjusting my OBJ importer, as all geometry is mirrored until I manually correct it.
While I have very limited amounts of time to devote to the project at this point, it has been fun working on it, as I have never worked with geometry at this low a level before.