DS Lite Repair
While I try to take good care of my possessions, my DS Lite was easily my most-used handheld console growing up, and it suffered for it. Many of these aging consoles suffer from a broken hinge. The mechanism goes under stress every time you open or close the system. On mine, what started as a crack expanded until the plastic itself fell off.
.jpg)
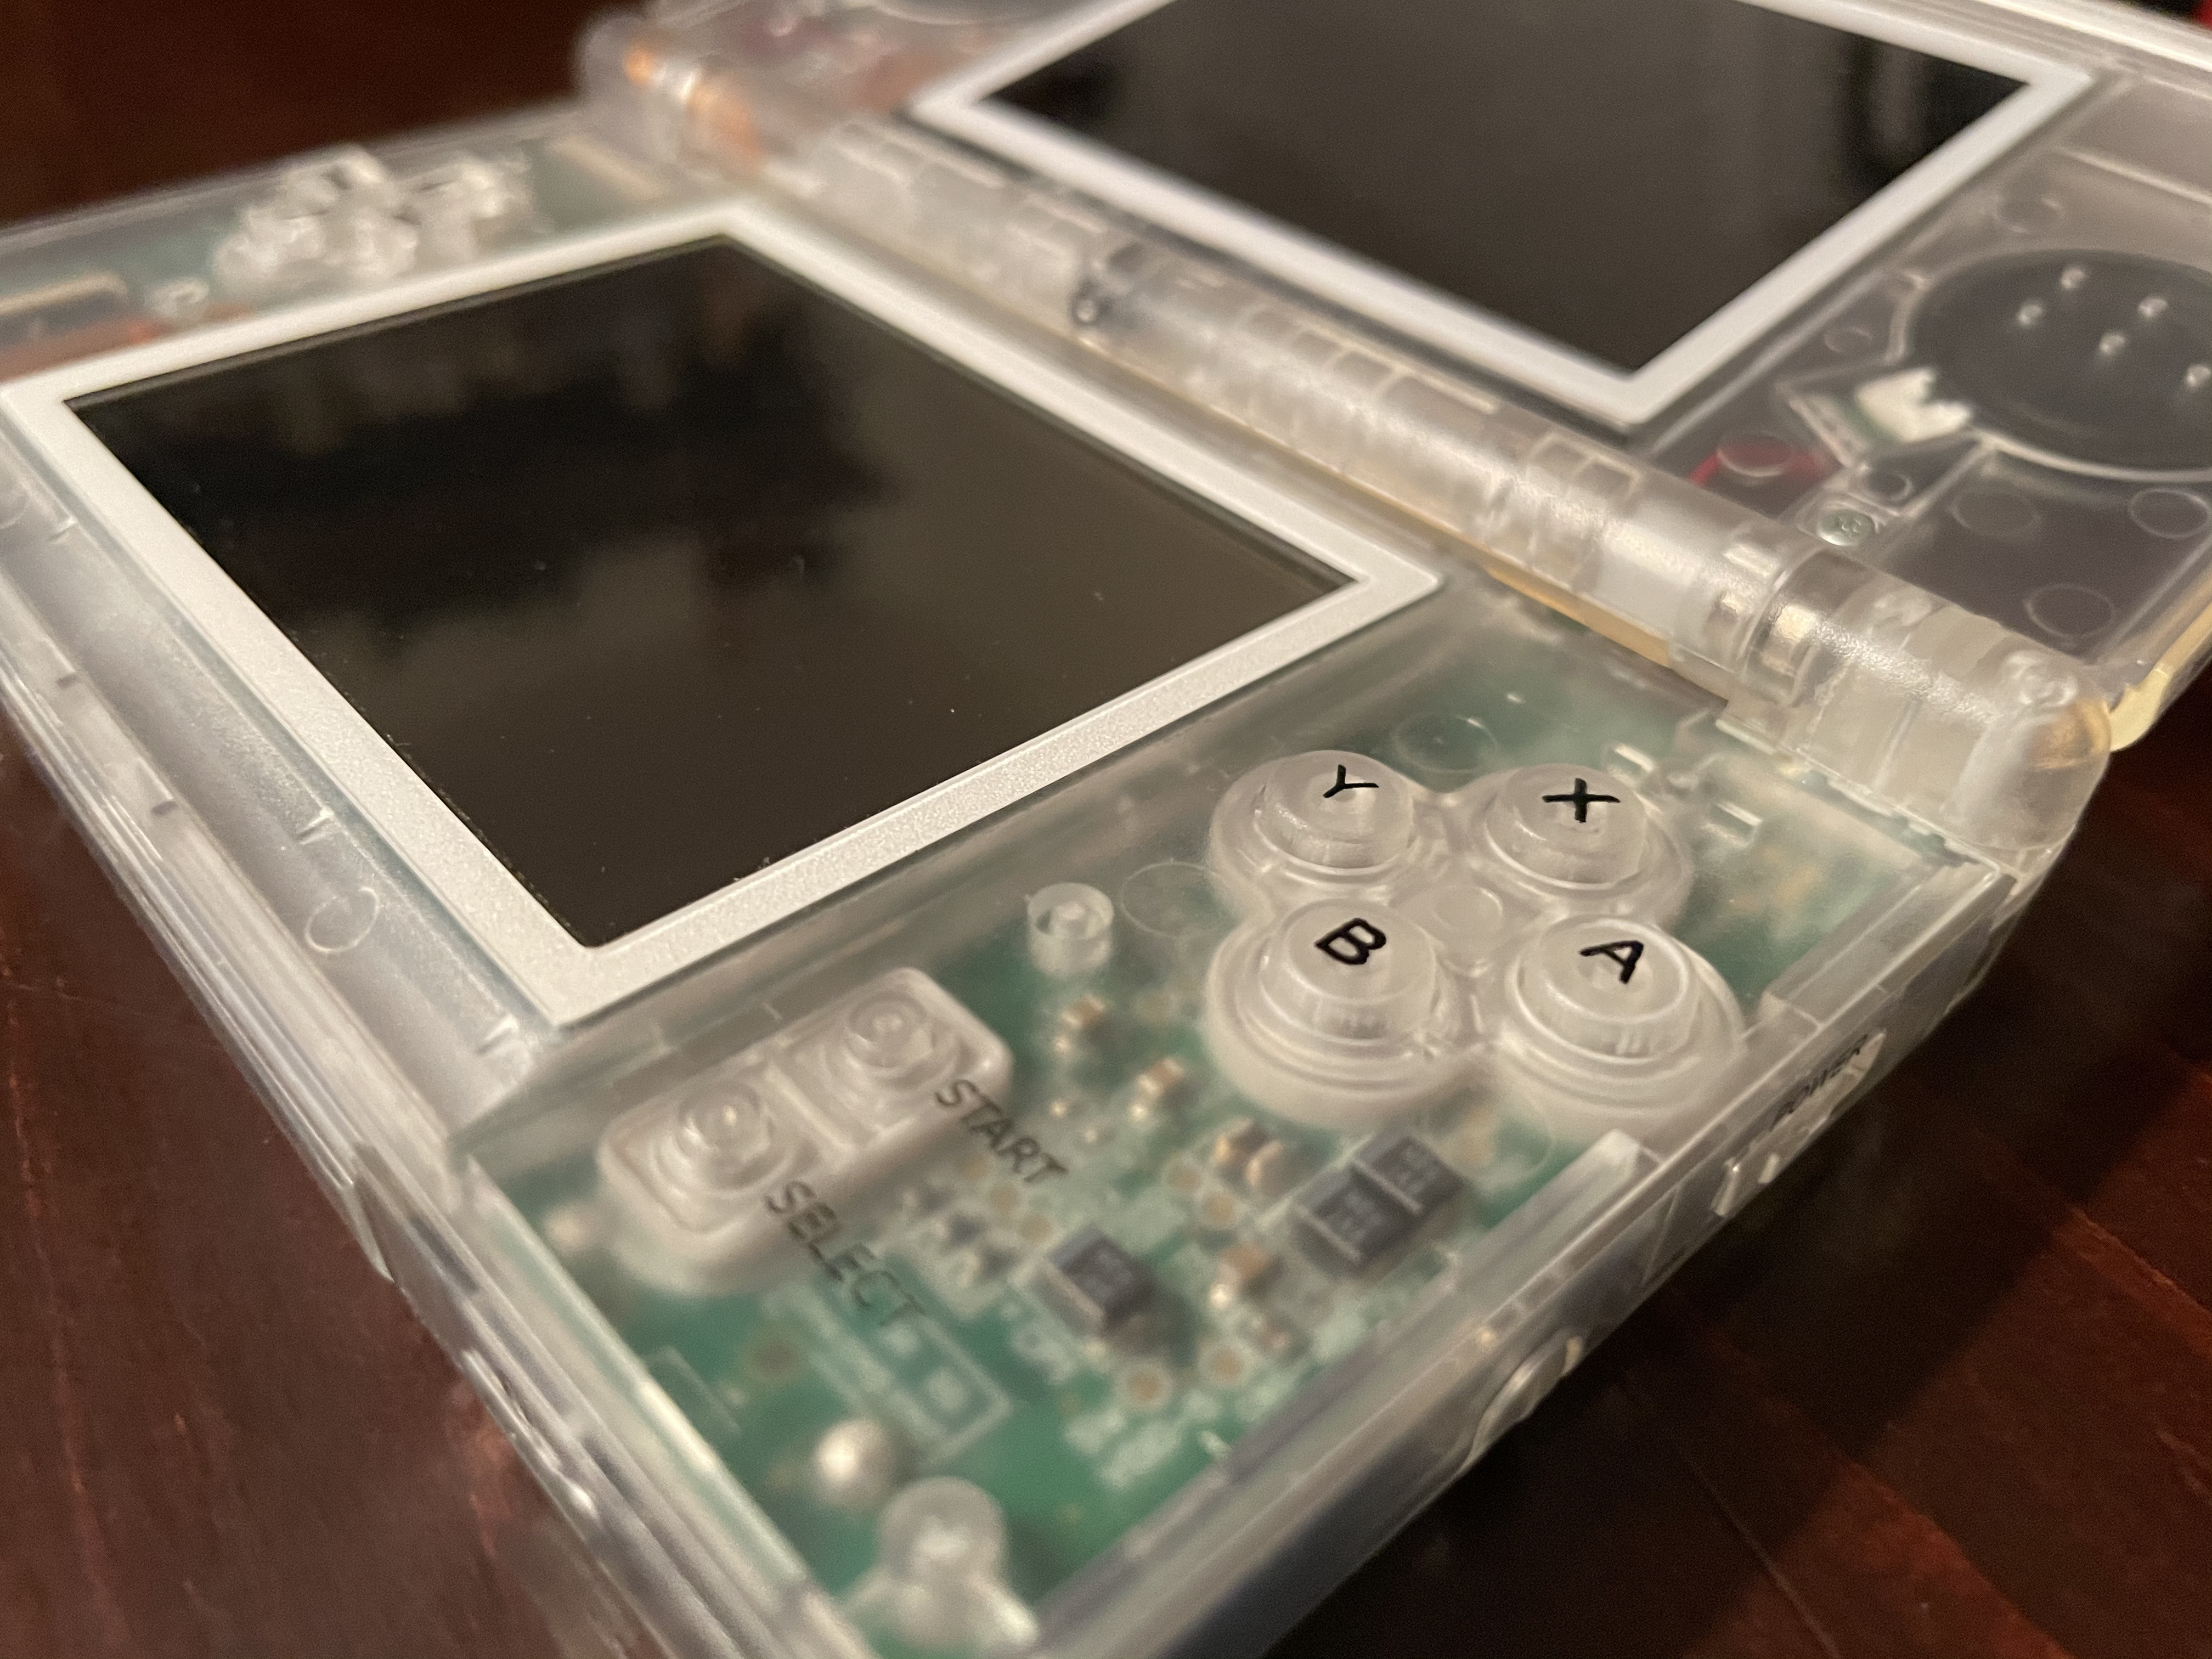
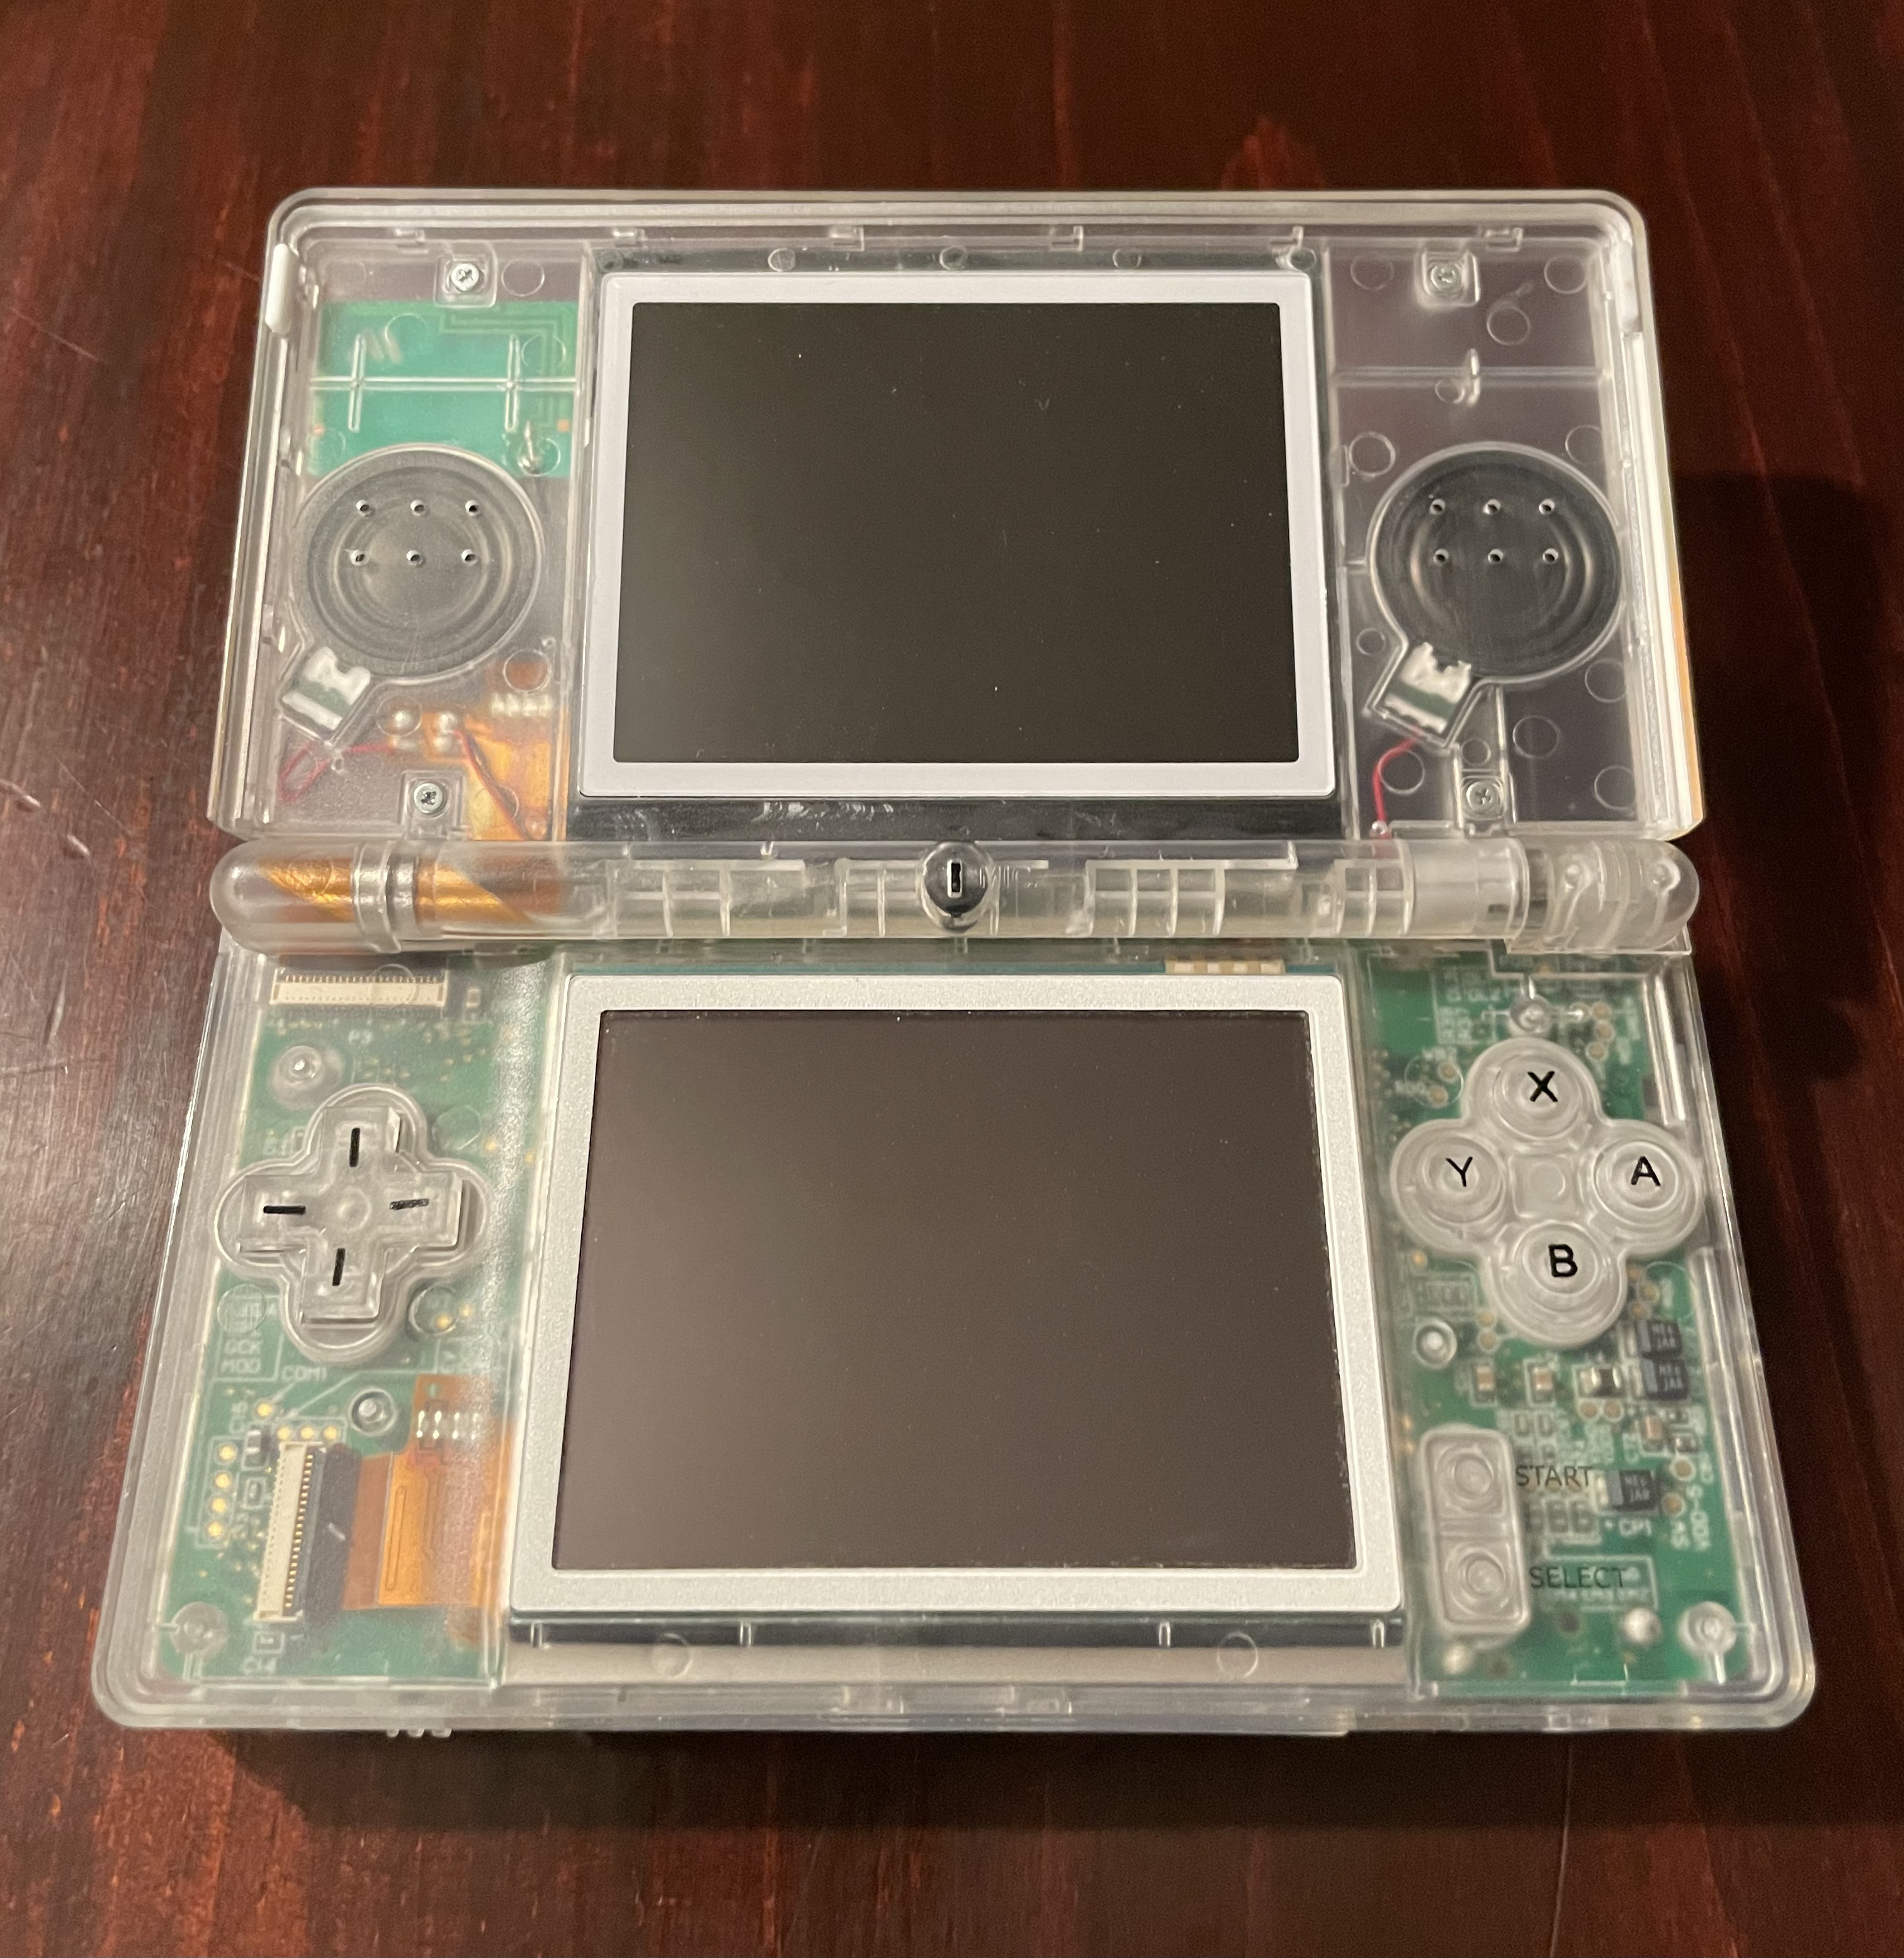
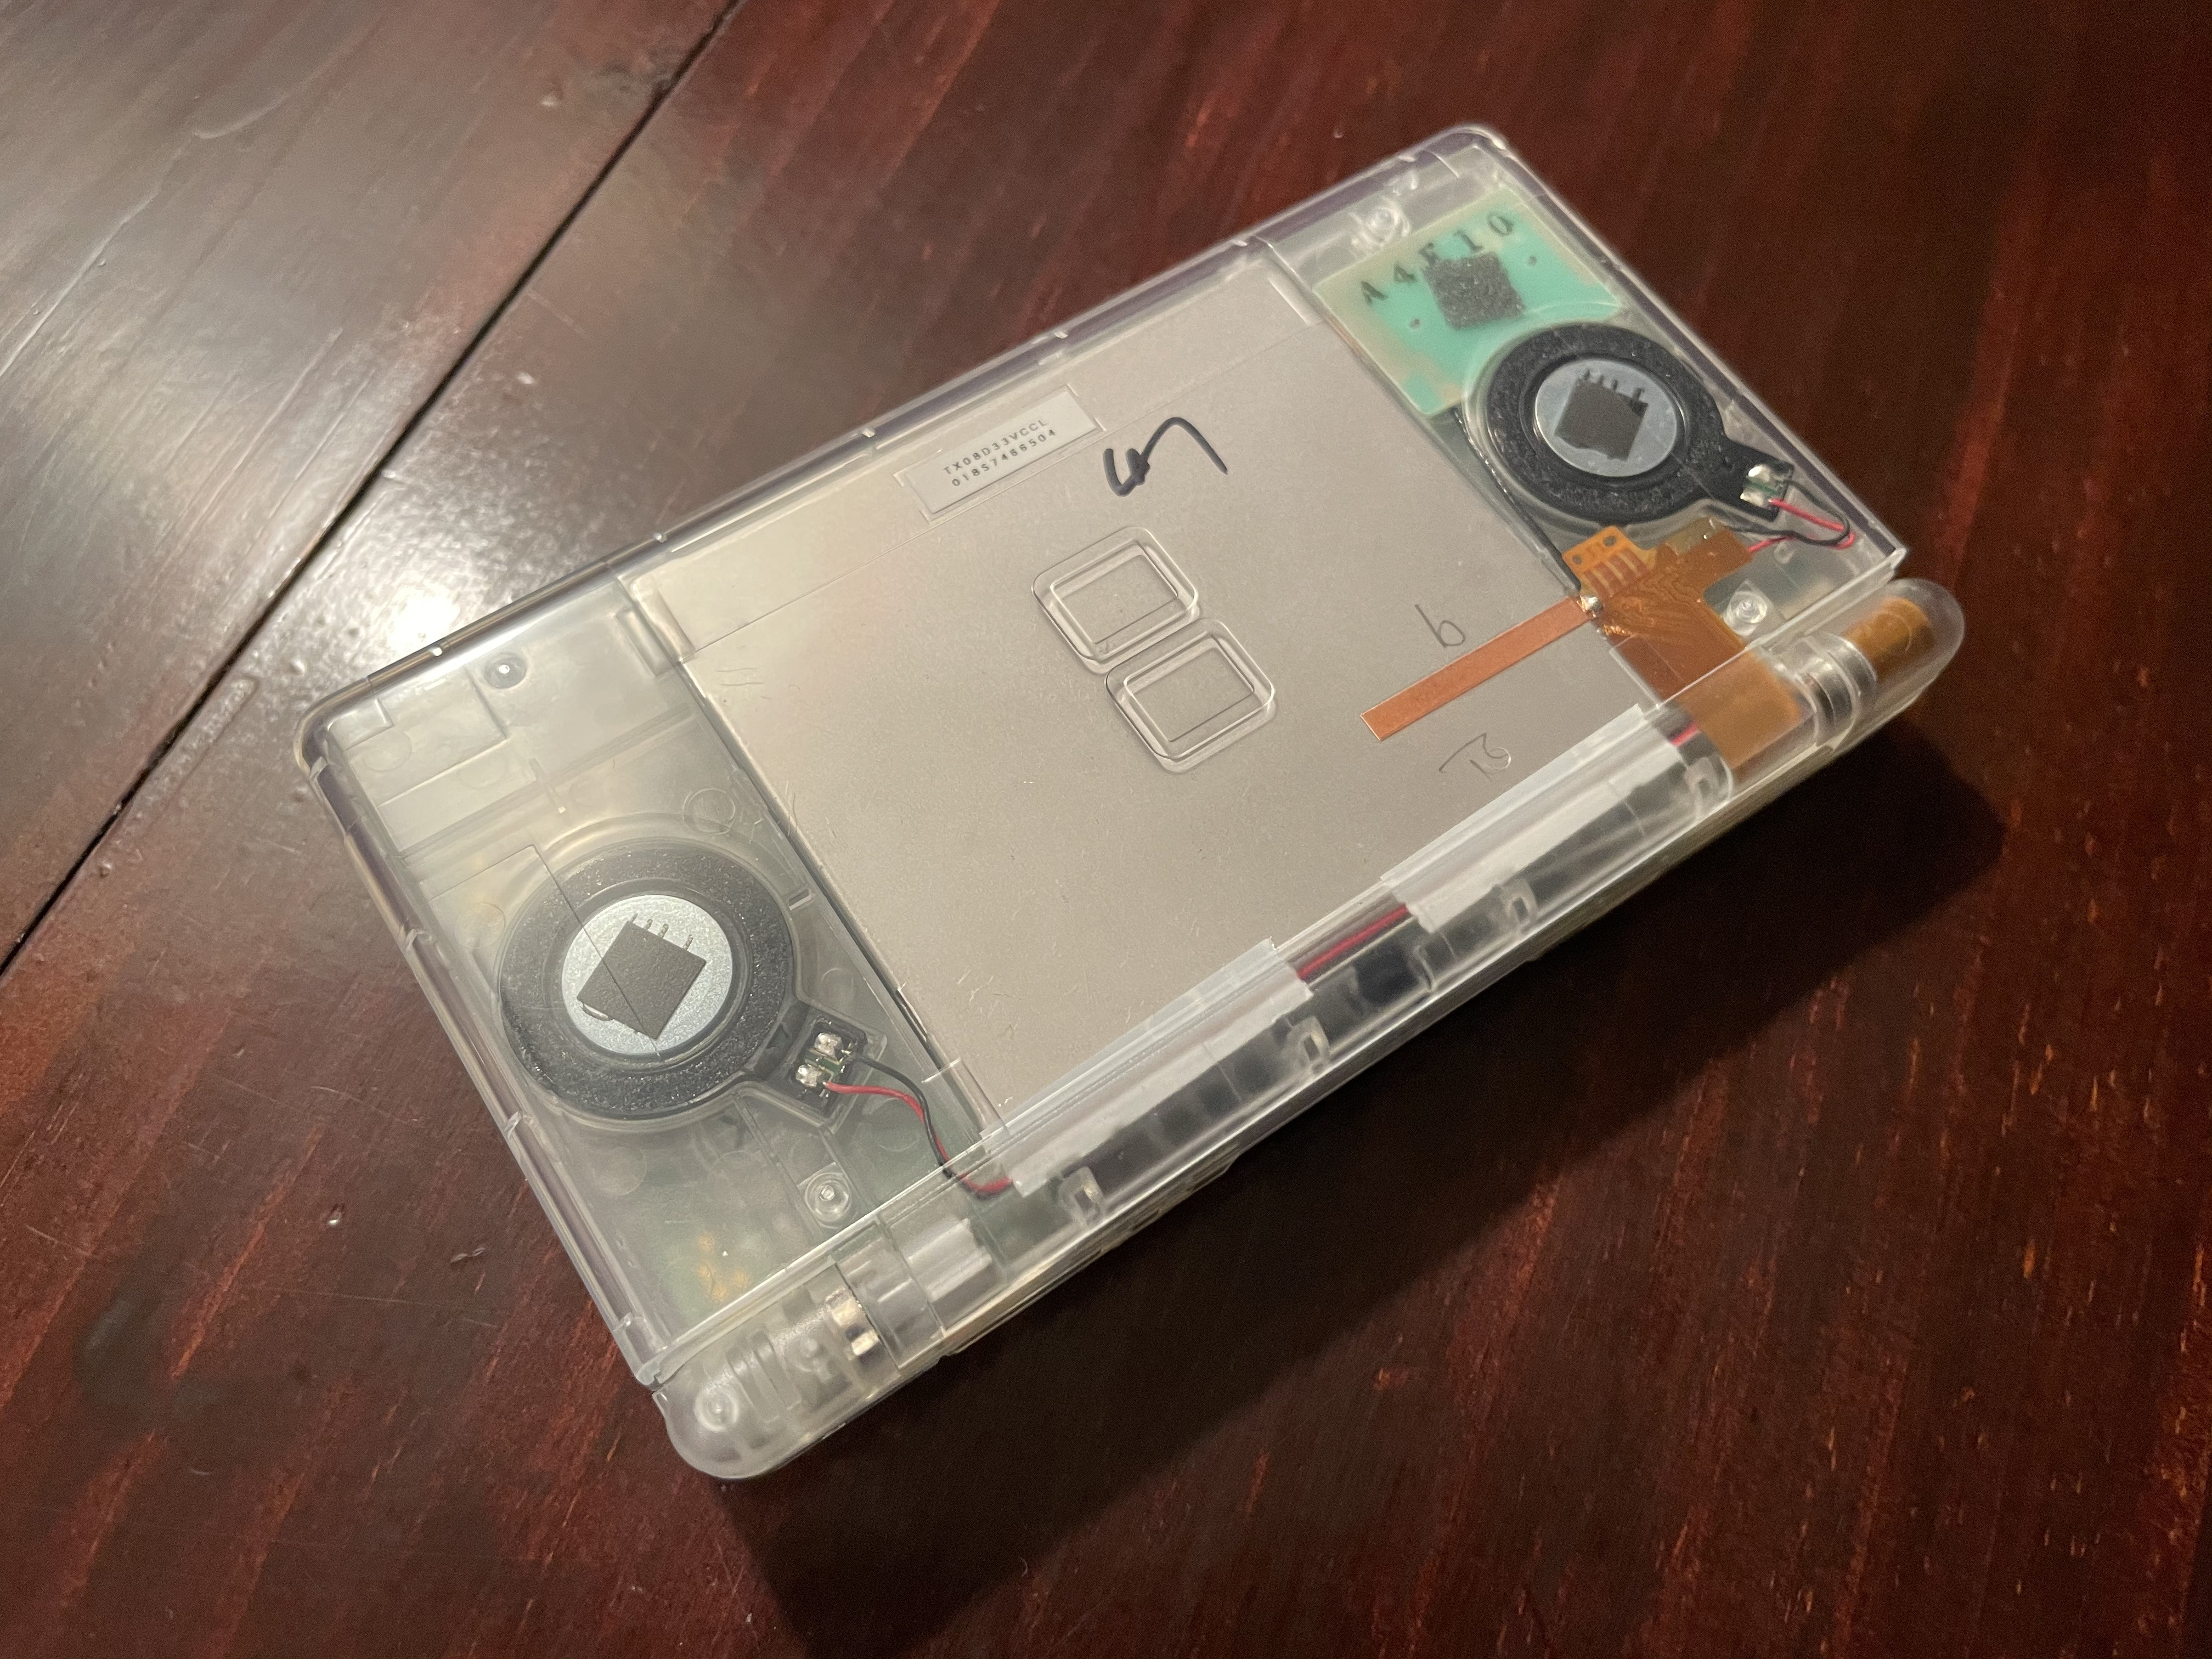
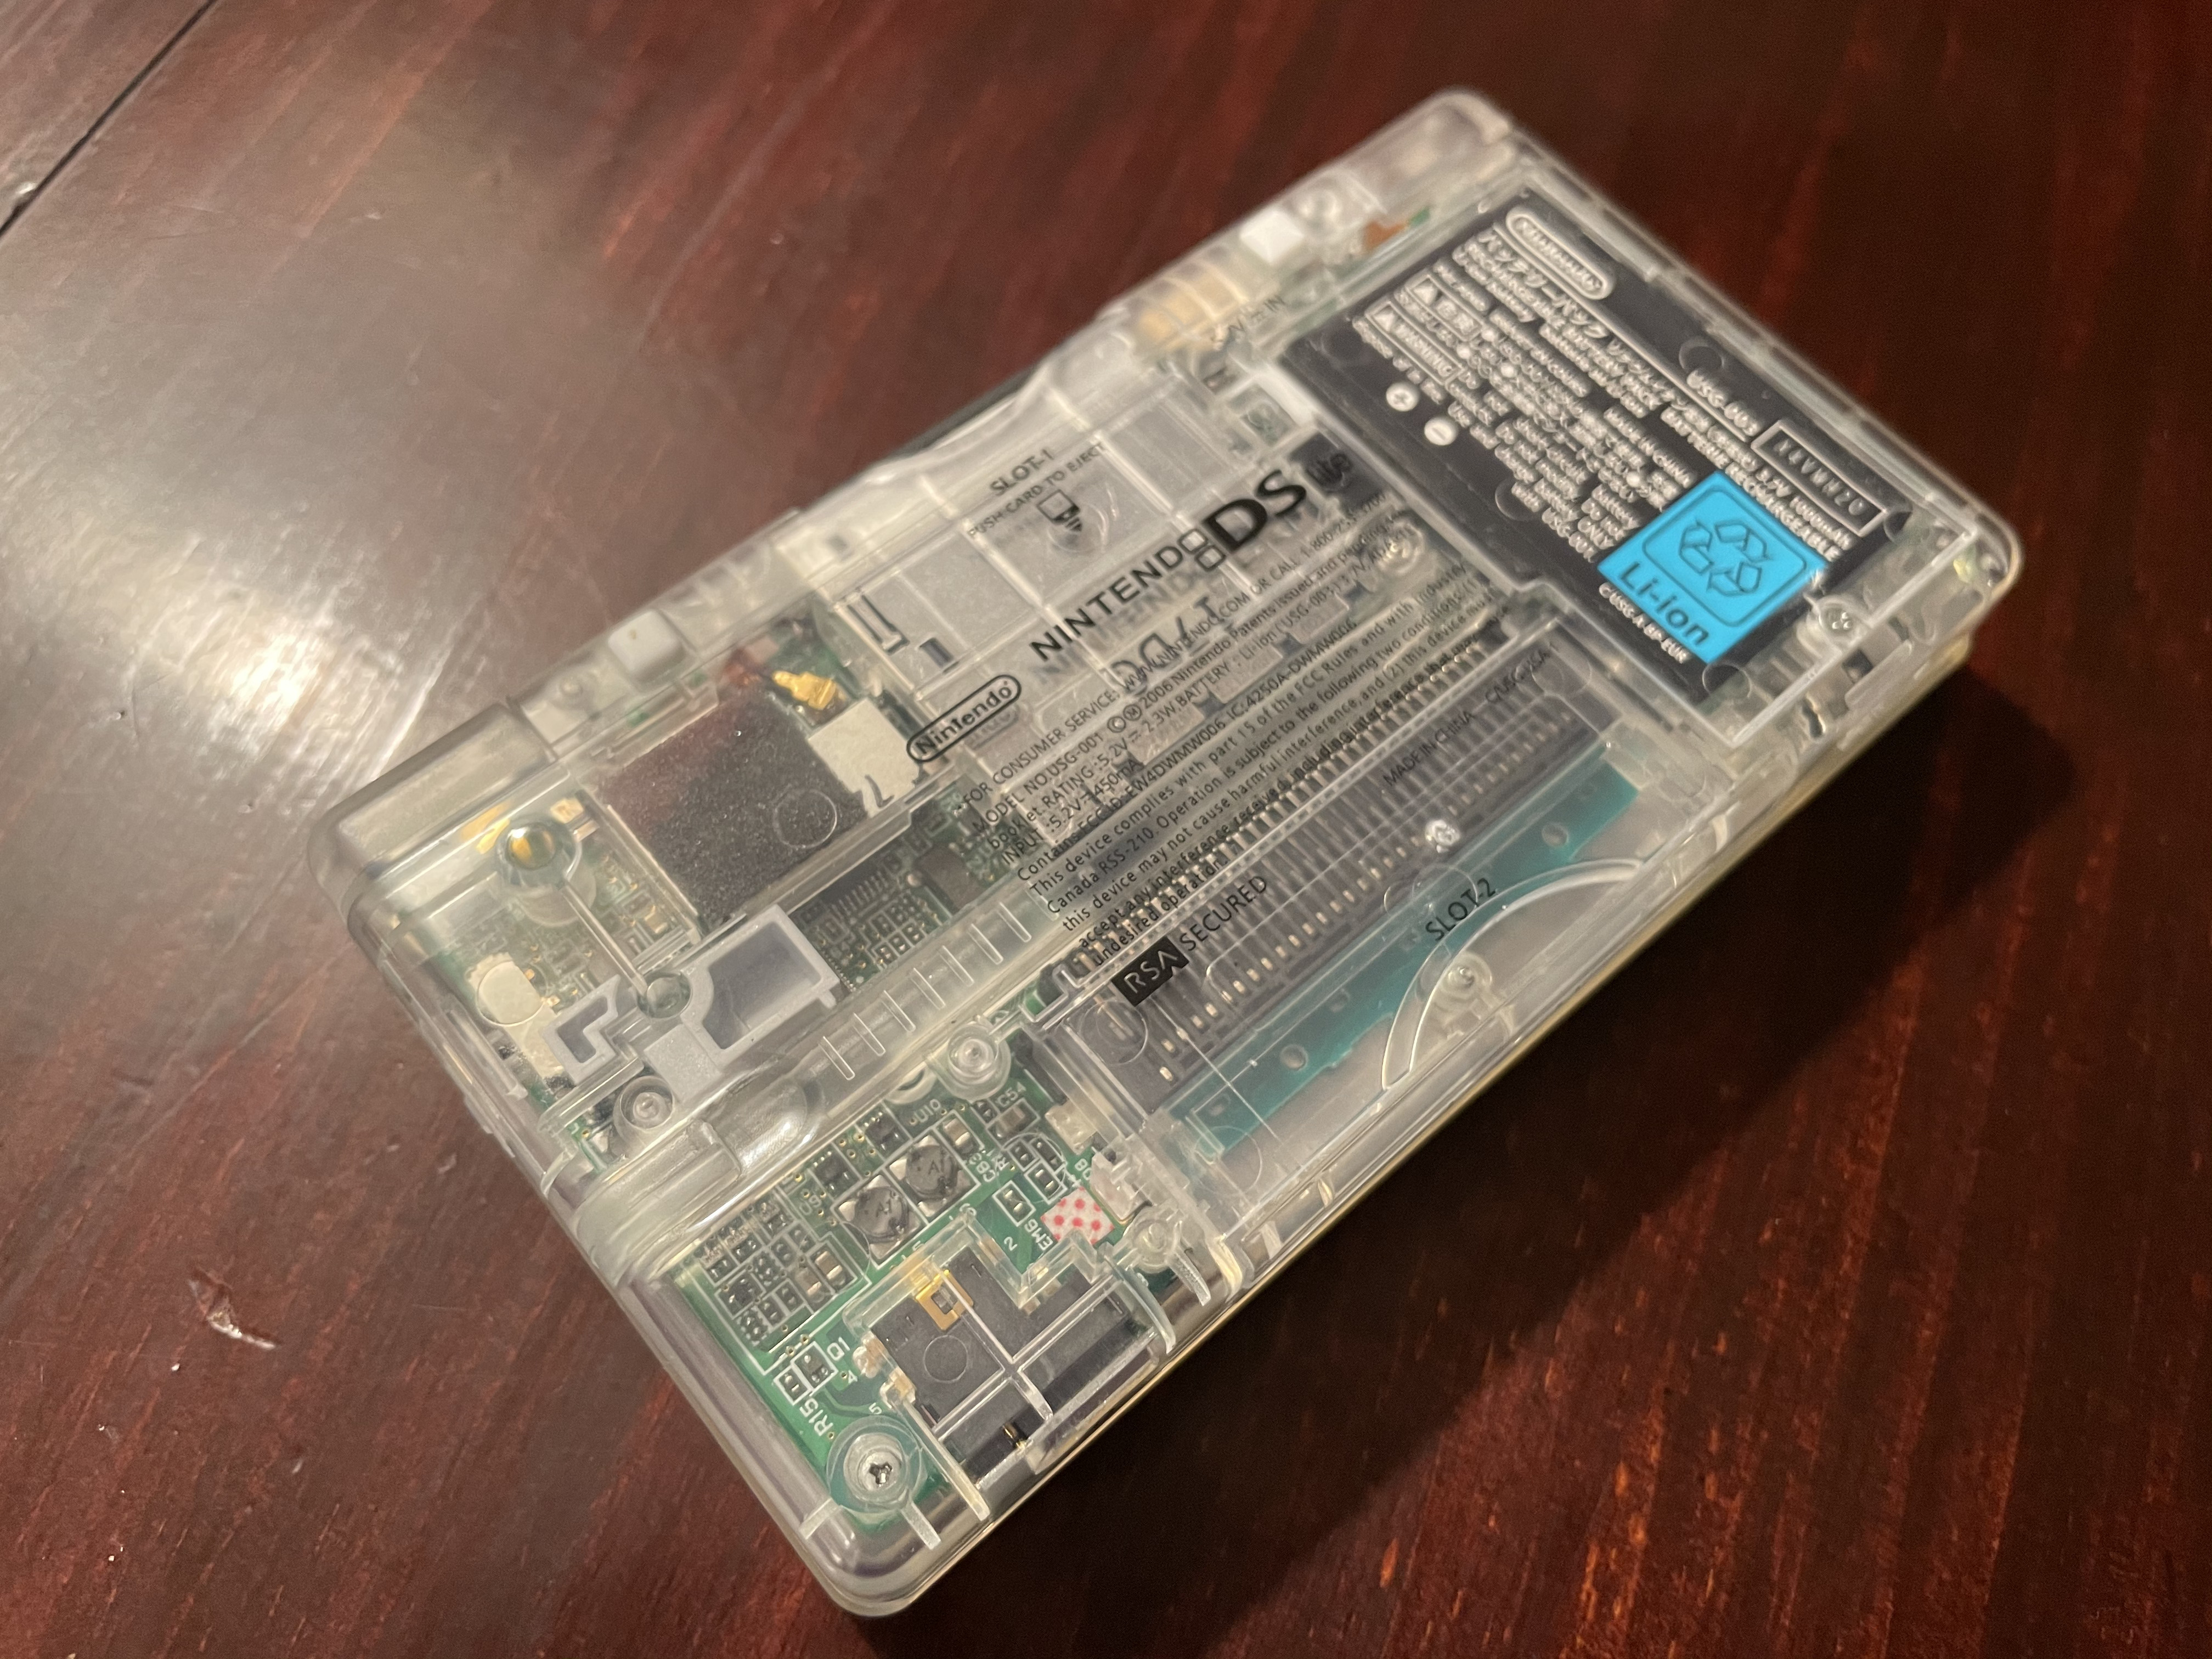
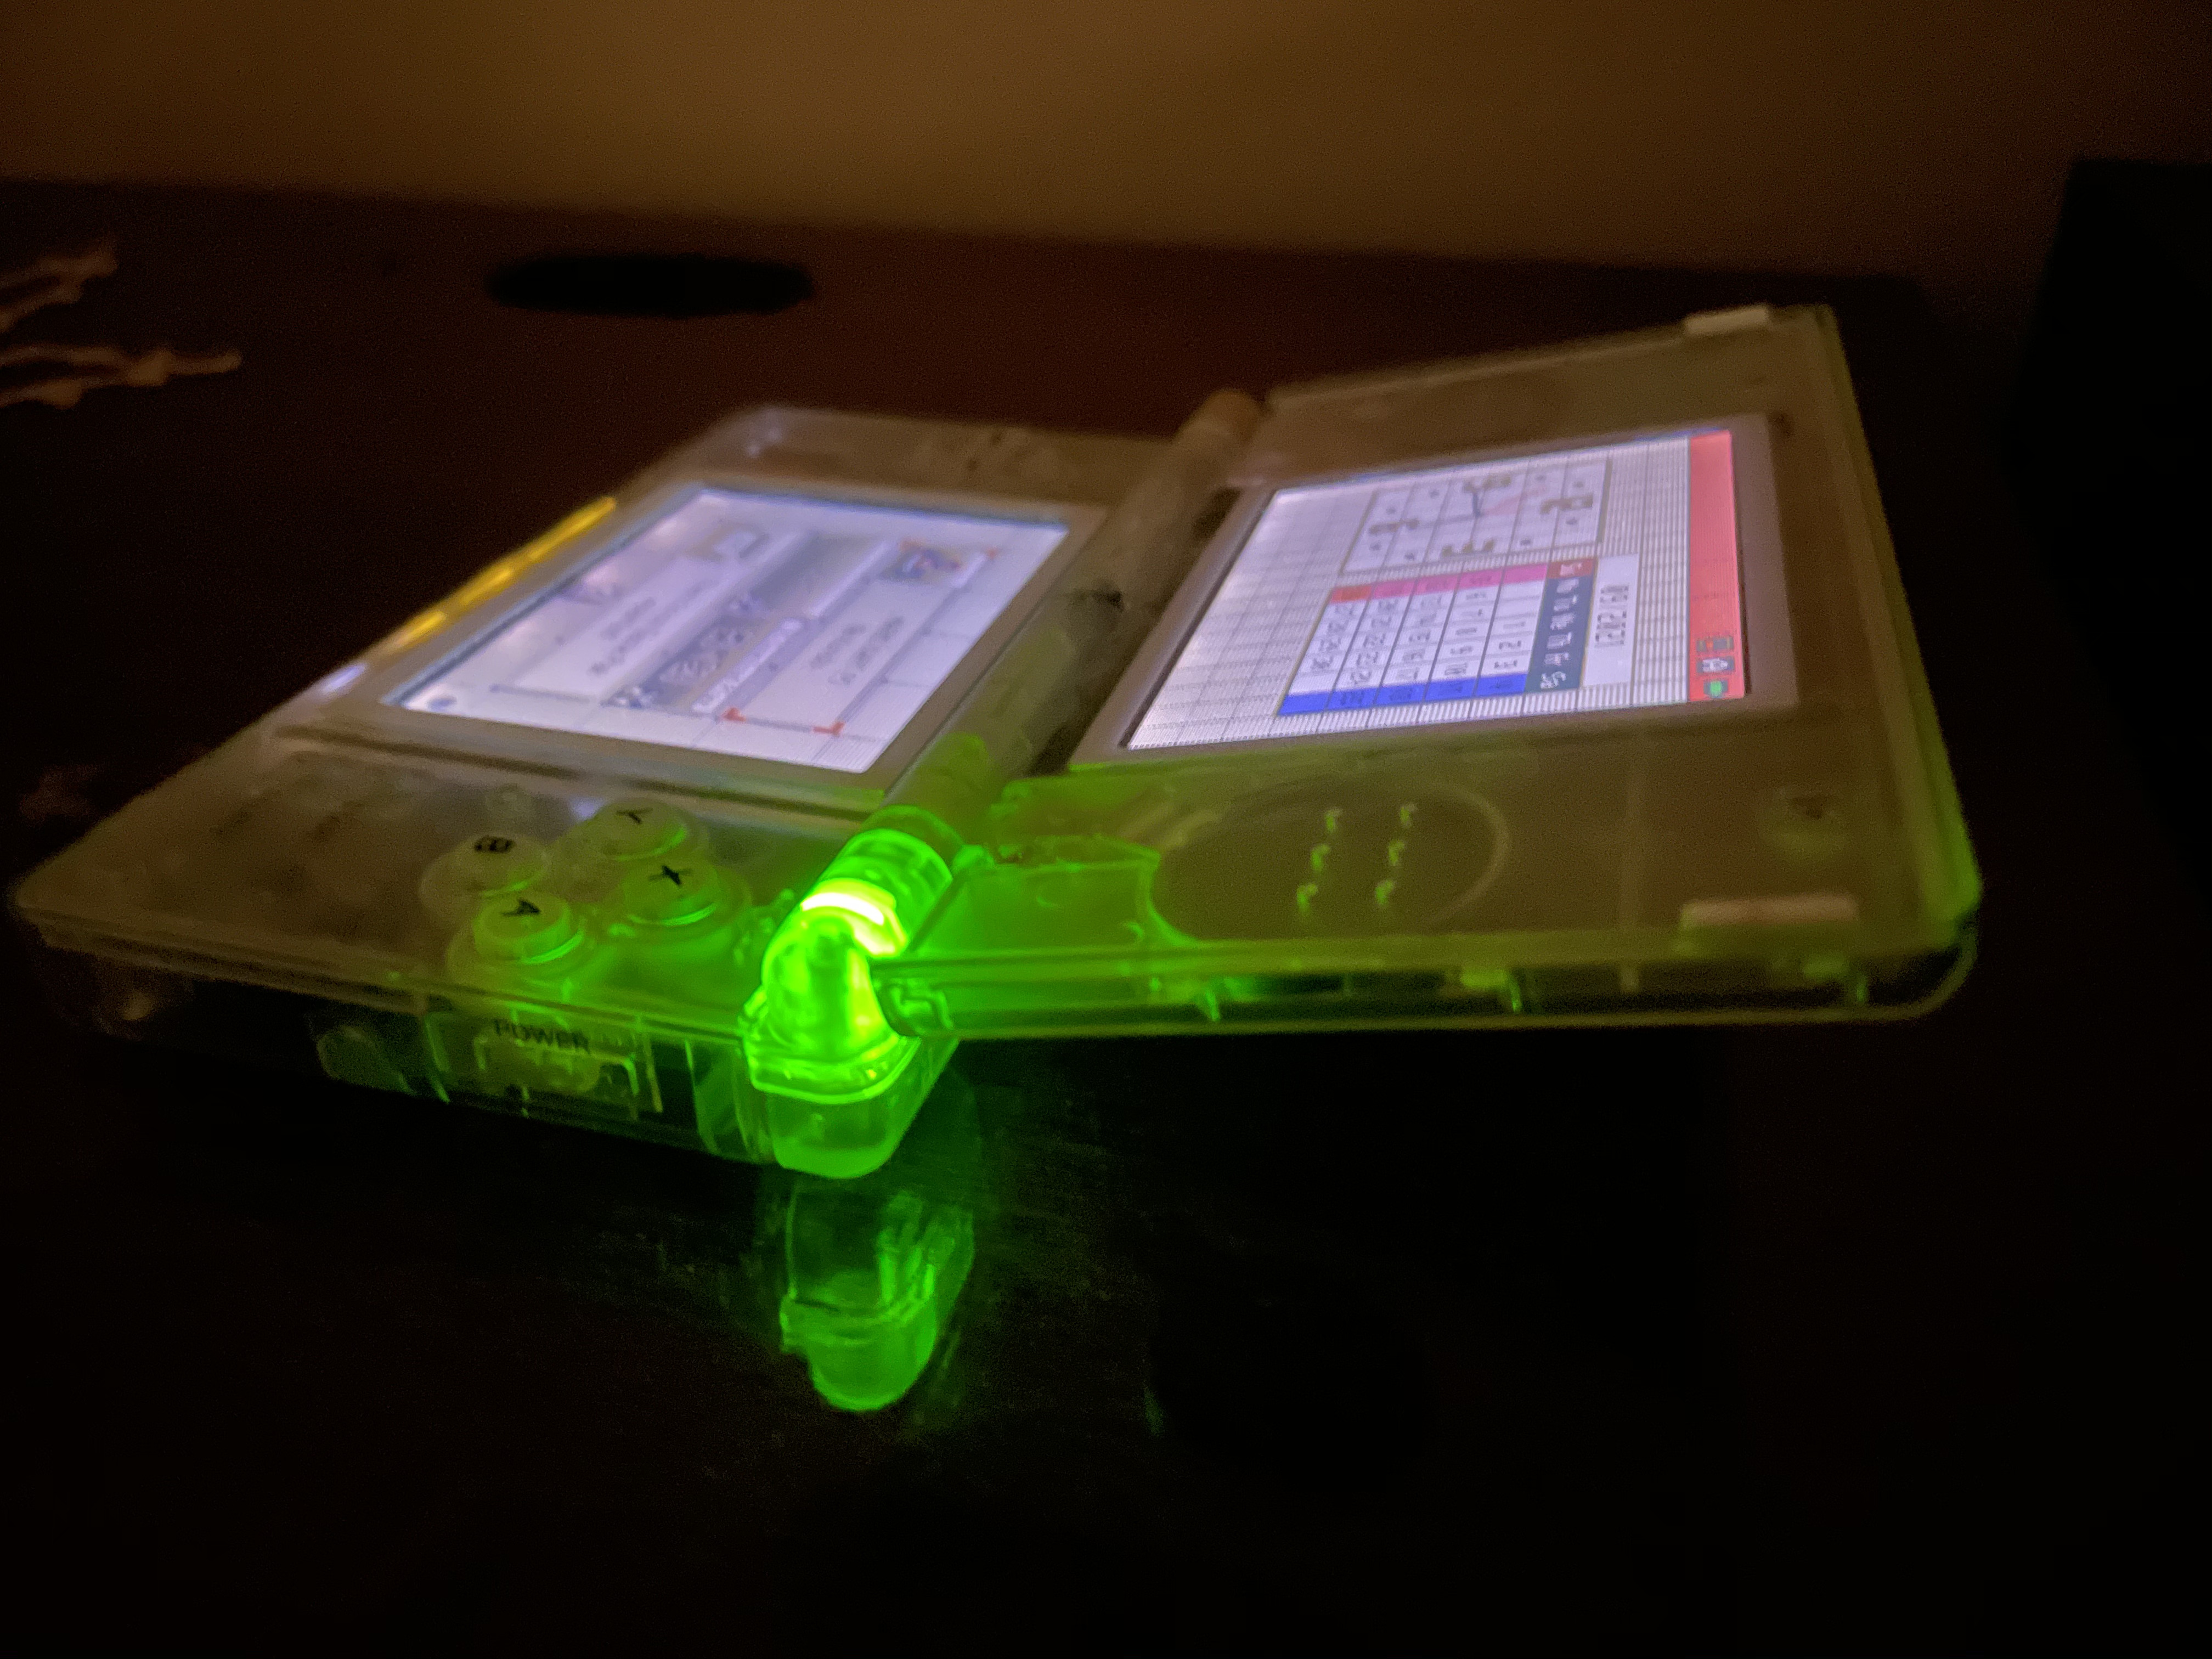
With this issue, my DS flopped about, so I decided (perhaps ten years late) that a replacement shell was in order. Since I was going through the effort, I decided to buy a shell in a totally different, unofficial color. DS reproduction shells are sold cheap on AliExpress. I chose a clear design and bought it for about $10 from this listing.

Replacing the shell took quite a bit of patience, but I got the job done. The reproduction shell isn't made to the same level of quality as the original. The screws tended to strip the plastic, but so long as I don't need to open it up frequently, that should be fine. The hinge is a bit stiff, but I'll take stiff over broken. Overall, I'm very happy with how it turned out, and it makes a great display piece. Check out the gallery below.
Later, I decided to fix a more serious issue: the shoulder buttons were really unreliable, often ignoring my presses or releasing before I actually let go. Snaking certainly didn't do the system any favors. I found a guide online that suggested carefully removing and scraping off the metal contact in the microswitch of each shoulder button to remove oxidization. This worked perfectly, and my DS is now restored back to full health.
Gallery permalink

YouTube Videos permalink
Videos for the shell replacement and repair are readily available on YouTube, and I used these as reference.
Here's a good video of the shell replacement from The Fix.
Here's a video of the DS shoulder button repair I used, also from The Fix.